
Hey! So I know I've been MIA for a few days but I'm back with a new tutorial. I've been swamped with these classes and my newfound obsession with the Kardashian Hollywood app. Don't judge me.
Anywho, this tutorial is inspired by the Split Back Shirt by Alexander Wang. It's super easy to do and does require some basic sewing skills, but if you absolutely are against sewing, you can always use a strong fabric glue that doesn't seep through your fabric or become visible.
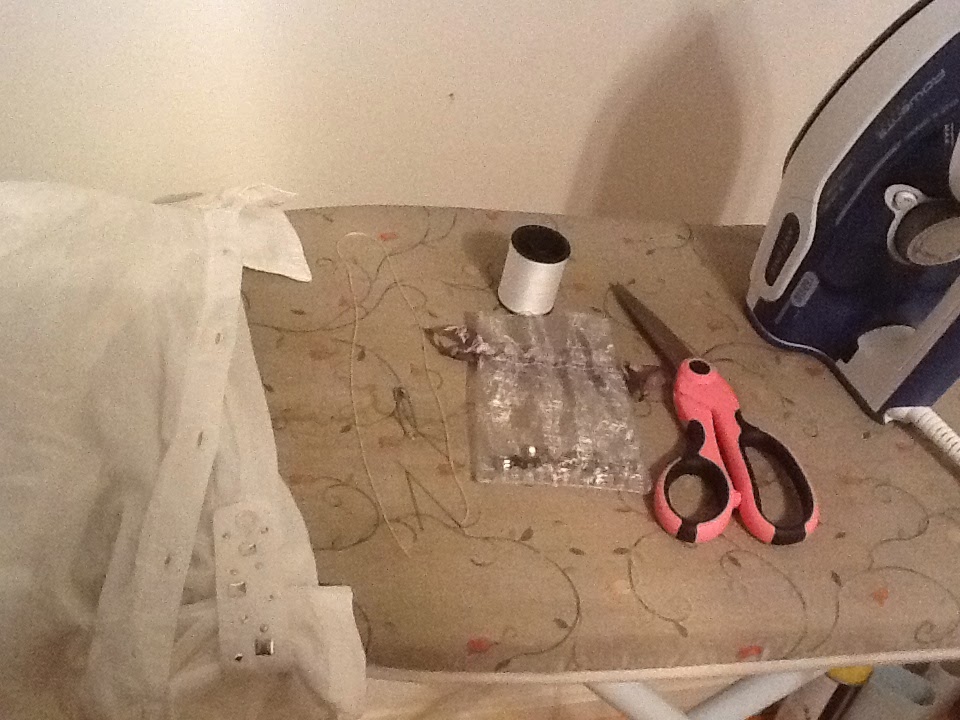
Supplies:
-A button down shirt
-2 needles (one small enough to fit through the holes of the rhinestones)
-Matching thread
-Sew on rhinestones (rhinestones for jewelry making work too)
-Fabric scissors (or really sharp scissors if you don't have fabric scissors)
-Iron and ironing board
-Safety pin and pencil
Steps:
The first thing you want to do is plug in your iron and iron the back of your shirt so that you'll get a nice straight cut. You could also take this time to iron the front of the collar.

Next, try on your shirt and figure out how high you want your slit to be. Use a safety pin to mark the spot where you want your cut to stop. Be careful with this step, because you'll still be wearing the shirt! (I definitely poked myself a few times...) If you can, get someone else to pin it for you or to take a pencil and lightly mark it.
And make sure you make your mark a little bit lower than you want it. You can always cut a little more, but it's harder to fix if you cut too high.

After you pin it, take the shirt off and lay it on a flat surface. Use a pencil to lightly mark where the safety pin stops, making sure it is centered in the back of the shirt.

Using something with a straight edge, draw a straight line down the entire back of the shirt like this:

This line will give you a guide so that you are cutting straight.
Take your scissors and cut on the line so you'll get this:

Next, try on the shirt again so you can make sure the slit is as high as you want it to be. Once you're happy with your slit height, it's time to fix those rough cut edges.
Thread your bigger needle with a thread that matches your shirt and knot the end. We'll be using a simple in and out stitch for this and if you don't know how to do it, you can search online or simply use fabric glue. I hemmed my edges about 1/4 an inch.
Once you do that to both sides, (and a few stitches at the top of the slit so the shirt doesn't rip more on its own), you're finished on the back. You now have the basic slit back shirt. You can leave it like this or...

I decided to sew on some rhinestones to the collar tips. I first decided on a design and then threaded my smaller needle with my thread and sewed each individual rhinestone on, similar to sewing on a button.

I decided to invert the design on the opposite side of the collar, so that the black gems were on the outside and the clear gems were on the inside and so on...

And then you're done! Here is the front of my shirt once it was done:

(Yes, it's from Justice, once again don't judge me. I've had this shirt for years. Yes it still fits. Bleh.)
In case the final product pictures weren't clear enough, I'll post some more pics of me actually wearing the shirt on Instagram so you can see how good it really turned out. Just look up @danithedancer and I'll have some pics up in a few days.
Enjoy!
No comments:
Post a Comment