Wednesday, June 17, 2015

Red Queen


Recently, I got back into reading and borrowed a book from one of my best friends sisters called Red Queen by Victoria Aveyard.


Let me just say; this book was absolutely great.

It gives a whole different perspective on equality, supernatural abilities, and 'gods'. The back story has the typical arrogant 'better than thou' monarchy, with the story's protagonist coming from next to nothing, but even still, it's so much more unique than that.

It kind of makes me mad that the next one in the RQ series won't be coming out until next year, and the one after that will make its debut in 2017!

The story is full of twists and turns and 100% real human emotion and thought. Aveyard did a spectacular job with her first book, and even though it was just shy of 400 pages, it flew by in a second.

Highly recommended for this summer's reads.

~D

WELCOME BACK!

Major apologies, to everyone! I fell off of my blogging habits but I'm back now and plan to keep everyone updated on the many projects I have and am planning!

After months of nothing, I owe you guys quite a few new posts. :)

Friday, August 22, 2014

DIY #10 - Chevron Necklace


Long time no see! Okay I'm back with another tutorial that I actually completed a week ago but am just finding the time to post it.

Here it is!

 
Supplies:
-Polymer clay in your choice of color
-Gold chain
-Gold wire
-Gold Jump rings
-Acrylic Paint
-Paint brush
-Wire cutters
-X-acto knife or other cutting blade
-Wax paper
-Baking sheet
-Paper chevron template
-Jewelry pliers
 
 
Steps:
 
First, lay your wax paper on your surface. The paper will protect your surface from your clay and make it easy to transfer to your baking sheet. Next, take out a chunk of clay to condition. Depending on how big you want your chevron, you may need more or less clay than I used. I used about 1 and a half bars of a Sculpey package. My chevron was 4 inches long and about 1 inch thick all around.
 
Roll out your clay to your preferred thickness (don't make it too thin or it will be fragile) and lay your template on top. With your blade, cut around the template to produce your chevron. 


Smooth out any mistakes with your fingers or a clay tool before moving on. 


Make two eye pins with the wire and stick them in either side of your chevron like in the above picture. Keep smoothing out everything.
 
Once everything is smoothed, transfer your wax paper and polymer clay creation to your baking sheet and bake it in the oven according to your package instructions.
 
After removing it from the oven and letting it cool, you can stop here or take it a step further like me.
 
Using some strips of regular tape, tape off sections of your chevron to paint. I used a few coats of gold acrylic paint by Martha Stewart for my design. 
 
 
Once the paint dries, add a jump ring to each eye pin, and add your desired length of chain. I made my necklace long enough to slip over my head like I did with the Fairy Door necklace.

 
And wah-la! You're done! You now have a fabulous chevron necklace.
Enjoy!


Thursday, August 7, 2014

New Dance Vid!

Hey guys, I finally posted a new dance video on my youtube channel which you can find here:

https://www.youtube.com/watch?v=SKqOMmDYzi0

Since it's Throwback Thursday and all, and I've been wanting to dance to this song for a while, I figured today would be the perfect time to do it! The song is Like A Boy by Ciara.

Enjoy!

Wednesday, August 6, 2014

DIY #9 - Fairy Door Necklace


Hey there! Here is my next tutorial. It's pretty simple and I find it adorable.
 
Supplies:
-Miniature Fairy Door (I found mine in the miniature section at Michaels)
-Gold wire (I used 20 gauge, also from Michaels)
-Gold chain
-1 gold jump ring
-Jewelry pliers
-Wire Cutters
-Strong glue
 
 
Steps:
 
First things first, remove your fairy door from its packaging. 
 
Put that to the side and grab your gold wire. Cut off a piece about three inches long with your wire cutters. Starting at one end, start rolling the wire into itself, creating a bail. With the last half inch or so of wire, bend it at a right angle and curl the end into a loop. In case that was confusing, you should end up with something like this:

 
Now, using your strong glue, glue your handmade bail to the top back of your Fairy Door. The small loop at the top should be sticking out past the top of your door so later we can add our chain and jump ring. 


While you wait for the glue to dry, prepare your chain. Figure out how long you want your necklace to be, and don't forget to account for the length of your Fairy Door pendant. Once you have a measurement in mind, cut your chain to your desired length. Before you attach the two ends of the chain to each other, slip on a jump ring.
 
 
 Once your glue is dry, open the jump ring that you have on your chain and attach it to the loop on top of your bail. Then close it up again and you're done! You're very own Fairy Door Necklace!

 
Enjoy!


Tuesday, August 5, 2014

Wattpad Story!

Hey guys, first I just want to say, I've got a tutorial that I'll be posting up tomorrow for you guys.
Until then, I've been working on a story for Wattpad, and I'm providing the link here. It's my first one so you'll have to excuse any rookie mistakes but I hope you enjoy it!

Also, I'm in the process of creating a second story so I'll end up working on two at once. But until I finish some plot work for that one, I only have the one:


http://www.wattpad.com/62567230-growl-chapter-1?utm_source=web&utm_medium=link&utm_content=share_reading&ref_id=2910742


Enoy!

Tuesday, July 29, 2014

Heart Attack by Trey Songz

A couple of years ago, I put up a video of my choreography to Heart Attack by Trey Songz on Youtube. Since at the moment I'm unable to do a new video (but I promise I will soon), I figured I'd share the link to my video.

https://www.youtube.com/watch?v=mjLIdKkdzqU&list=UUcL8q7ezxv4Kd5_XRRx_RWw

Enjoy!

DIY #8 - Royal Crown Brooch

 
Hey there! I've been gone for a while I know....Driving school and learner's permits and things of that nature. But I'm back with a new tutorial! hopefully I can get a few things up this week to make up for my absence, but I'll see what's going on.
Either way, this tutorial has three different variations so it's pretty flexible.
 
Here it is!
 
Supplies:
-Polymer clay (I used Ultramarine blue and Jewelry gold Sculpey)
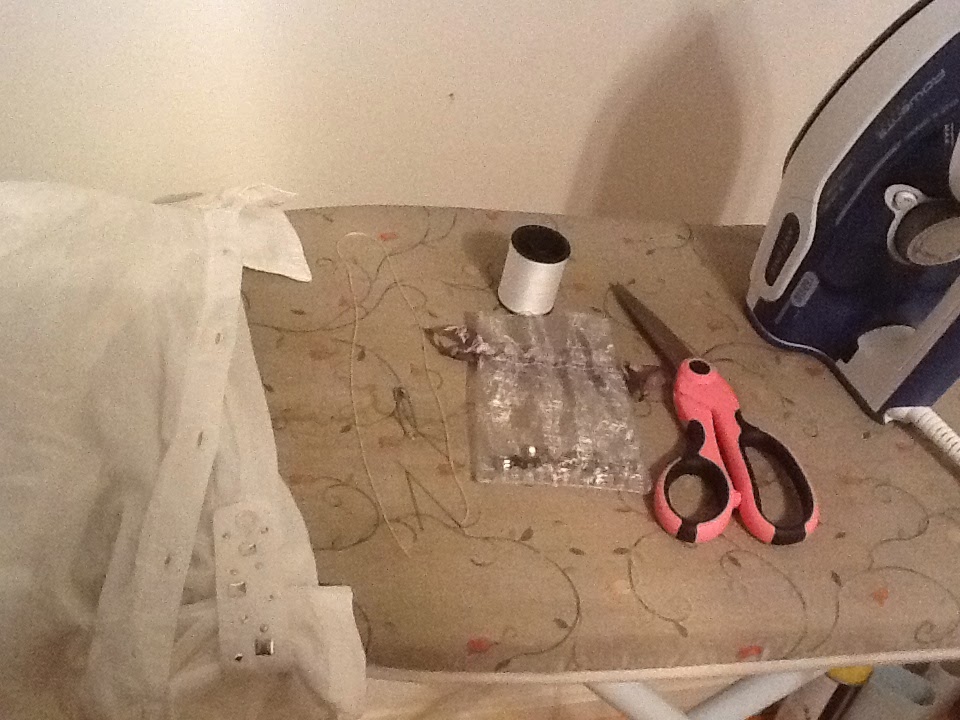
-X-acto knife
-Crown stencils (I printed from Google images)
-Scissors
-Wax paper
-Strong adhesive
-Mod Podge
-A paint brush
-Cream or white felt
-Gold leaf (I used Martha Stewart brand gilding sheets)
-Nail gems or tiny rhinestones
-Bigger rhinestones
-Birthstone gems (those little bottles that you can find at museums and such)
-Bar pins (pin backs)


Steps:
 
First, lay out your wax paper and supplies. Then cut out your stencils with a pair of scissors. If your crown designs have sections in the middle like mine, use your X-acto knife to remove the paper there.
 
After you have your stencils set, put them to the side and grab your clay. I used about half a section for each gold crown and about 3/4 of a section for my blue crown. The amount of clay you use depends on your crown size.
 
Condition your clay and roll it out to a thickness that works for you. Don't make it too thin though; you don't want your pin to be fragile.
 
Place your stencil on top of the clay and press it down so it stays in place while you're carving. Like this:
 
Use your knife to cut around the stencil first:

 
And then cu out the middle pieces if there are any before removing the stencil. 

 
Repeat this process for each crown. I did two gold and one blue crown. 


Now let's work on the blue crown.
 
After all your crowns have been cut out, take your blue one. I used my X-acto to rip off little pieces of the gilding sheets and pressed them into the unbaked clay. (Yes, you can bake these). I did my gilding randomly and it turned out like this:


I left the center top un-gilded because that's where my little rhinestones are going.
 
Next, place all you crowns on wax paper and a baking sheet and put them in the oven based on your package instructions. I used Sculpey brand, so I baked mine at 275 degrees Fahrenheit for 15 minutes, but your baking time may depend on the brand of clay you use. 
 
Once your clay has baked, take it out of the oven and wait for it to cool. Then it's time to start decorating!
 
For the first gold crown, I used felt, nail gems and a big rhinestone. I cut a strip of cream felt to go at the bottom of the crown and used a big square rhinestone that I had leftover from my Split back Shirt tutorial. In addition, I used 11 gold nail gems to place on my crown in a row design. Once you plan out your design, use a strong glue to glue everything on. I had originally planned to use my hot glue gun, but opted for Loctite transparent adhesive. My first gold crown turned out like this:


 Now to our blue beauty. Since this one already had gold gilding all over it, I just glued on three silver nail gems on the top blank section like such:


Now for our last crown. The second gold one. For this one I used 4 silver nail gems and some Amethyst gems. I first glued the gems to the bottom left corner and left side, and the top right corner. You can glue your gems anywhere you want.
 
Then I made a straight line down the middle of the crown with the silver nail gems. Here is how it turned out:

 
After your glue dries, which takes about 4 hours for Loctite but I waited over night, you can flip your pins over and glue on the pin backs.
 
 
If you're crowns are anything like my gold ones, you make have to glue the pin backs vertically.
Once the backs are glued on and the glue is dry, you're done! You can wear one, two, or all or your pins at once if you want!
 
Enjoy!


Friday, July 18, 2014

DIY #7 - Split back Shirt


Hey! So I know I've been MIA for a few days but I'm back with a new tutorial. I've been swamped with these classes and my newfound obsession with the Kardashian Hollywood app. Don't judge me.
 
Anywho, this tutorial is inspired by the Split Back Shirt by Alexander Wang. It's super easy to do and does require some basic sewing skills, but if you absolutely are against sewing, you can always use a strong fabric glue that doesn't seep through your fabric or become visible. 


Supplies:
-A button down shirt
-2 needles (one small enough to fit through the holes of the rhinestones)
-Matching thread
-Sew on rhinestones (rhinestones for jewelry making work too)
-Fabric scissors (or really sharp scissors if you don't have fabric scissors)
-Iron and ironing board
-Safety pin and pencil
 
 
Steps:
 
The first thing you want to do is plug in your iron and iron the back of your shirt so that you'll get a nice straight cut. You could also take this time to iron the front of the collar.


Next, try on your shirt and figure out how high you want your slit to be. Use a safety pin to mark the spot where you want your cut to stop. Be careful with this step, because you'll still be wearing the shirt! (I definitely poked myself a few times...) If you can, get someone else to pin it for you or to take a pencil and lightly mark it.
 
And make sure you make your mark a little bit lower than you want it. You can always cut a little more, but it's harder to fix if you cut too high.


After you pin it, take the shirt off and lay it on a flat surface. Use a pencil to lightly mark where the safety pin stops, making sure it is centered in the back of the shirt. 

 
Using something with a straight edge, draw a straight line down the entire back of the shirt like this:

 
This line will give you a guide so that you are cutting straight.
 
Take your scissors and cut on the line so you'll get this: 

 
Next, try on the shirt again so you can make sure the slit is as high as you want it to be. Once you're happy with your slit height, it's time to fix those rough cut edges.
 
Thread your bigger needle with a thread that matches your shirt and knot the end. We'll be using a simple in and out stitch for this and if you don't know how to do it, you can search online or simply use fabric glue. I hemmed my edges about 1/4 an inch. 

Once you do that to both sides, (and a few stitches at the top of the slit so the shirt doesn't rip more on its own), you're finished on the back. You now have the basic slit back shirt. You can leave it like this or...
 
I decided to sew on some rhinestones to the collar tips. I first decided on a design and then threaded my smaller needle with my thread and sewed each individual rhinestone on, similar to sewing on a button. 

 
I decided to invert the design on the opposite side of the collar, so that the black gems were on the outside and the clear gems were on the inside and so on...

 
And then you're done! Here is the front of my shirt once it was done: 

(Yes, it's from Justice, once again don't judge me. I've had this shirt for years. Yes it still fits. Bleh.)
 
In case the final product pictures weren't clear enough, I'll post some more pics of me actually wearing the shirt on Instagram so you can see how good it really turned out. Just look up @danithedancer and I'll have some pics up in a few days.
 
Enjoy!


Sunday, July 13, 2014

My Mandatory Summer Reading List


Every summer, during the students' well deserved vacation time, my school gives us a list of three books that we must read over the summer...and do book reports on. Wow.

Anyway, as my third year at my school, this is obviously my third time writing book reports over the summer. But as I stated in the review post for The Fault in Our Stars, my friends and I influenced this year's book choices slightly. Luckily, juniors and seniors got these three easy books: The Fault in Our Stars by John Green, The Help by Kathryn Stockett, and The Last Song by Nicholas Sparks.
(Anyone else notice these titles all have 'the' in them?)

As you know, I've already read TFIOS and enjoyed it profusely. But...as much as I love reading, I'm also very lazy. And since it's already the middle of July basically and these reports are due the first day of school September 2nd...It's highly unlikely that I'm going to go out and buy the other two books and read them.

Especially since I have other books I'm reading right now.

And also especially because I've seen the movies for both books.

Yeah, I know it's cheating, but eh. It's good cheating. I might even be able to find them on Sparknotes.

But this will give me a chance to watch some movies on the couch with snacks without being referred to as 'not doing anything important'. So it's a win -win.

Another book that I know my sophomore friend has to read (she has a different list) is The Perks of Being a Wallflower by Stephen Chbosky. So we've all got some popular, movie made books to read it seems. (And that title once again starts with 'The'!)