Friday, July 11, 2014

DIY #6 - Cross Necklace

 
I'm back with another tutorial! My schedule has been slightly hectic do to Driver's Ed classes all this week and the next but I'm managing. Now, on to the tutorial!
 
 
Supplies:
-2 pairs of pliers (yes, I have baby ones.)
-8 gold jump rings
-Gold chain
-A gold lobster clasp
-A cross cut-out pendant (details below) 


Steps:
 
I had already pre-created my pendant with some Sculpey polymer clay. I didn't take pictures, but it's easy enough to explain.
 
Taking your choice of color of clay, roll it out to the thickness you want. Then cut out a rectangle that is 1 1/2 inches by 1 1/4 inches.
 
With either a cross shaped cutter (if you have one) or free-hand with an X-acto knife, create your cross shape in the middle. Then add two holes at the top for the jump rings by piercing the clay with a needle and bake at 275 degrees Fahrenheit for 15 minutes.
 
Once you have your piece created, put one jump ring through the two top holes and one at the bottom of the cross like this: 
 
 
Then add one more jump ring to the first three, like this:
 
Next, prepare your chain. Cut two pieces that are equal length and as long as you want them to be.


 Attach one end of the chain to the last jump ring on the top of your pendant. Repeat for both sides.
 
Then, taking a third shorter piece of chain, attach one end to the jump ring at the bottom of the cross, and the other end to a point on your chain that is just a few inches from your pendant. (I put my chain on the right side, but in the picture it looks flipped.)

 
Lastly, add the last two jump rings to either side of your necklace chain. I put my lobster clasp on the right side because I'm right-handed, but you can do whatever feels more comfortable.
And then you're done!
As always, I'll post pics of the necklace and how I style it on Instagram, just look me up @danithedancer.
Enjoy!


Tuesday, July 8, 2014

DIY #5 - Spiked Snapback


I love hats. Fedoras, snapbacks, beanies....all kinds of hats. But who really wants to pay all that money for an embellished hat when you can easily DIY one?
 
 
Supplies:
-Snapback in your choice of color
-Spikes (mine were screw back spikes that I got on Amazon, but any spikes will work)
-Hot glue gun and glue
 
-Optional: chain, a jump-ring, two pairs of pliers


Steps:
 
First, place your spikes on the brim of your hat so you can decide what design you'll use.
I went for a semi-uniform scattered rows kind of look, but you can do whatever you like. If you want to copy my design, you'll need 13 spikes. While you figure out your spike placement, plug in your glue gun.


Next, take your glue gun and start gluing the spikes to the hat. I would recommend gluing them down from one side and work your way to the opposite side. All you have to do is lift one spike up a few inches from your hat, put a dab of glue on the bottom and then press it back down in its spot.
Hold the spike down for a few seconds while the glue dries. 


And that's all there is to it! However, once I finished gluing on my spikes, I realized I wanted a little extra on my hat. Soooo.....
 
I added a draped chain to the back on the actual snap part. I didn't take any pictures, but all I did was open a large jump-ring with two pairs of pliers, slip one link of my chain onto it, and hooked the jump-ring onto the first hole on the left side of the snap before closing the jump-ring again. With the other end of chain, I simply glued the last link to the end of the right side of the snap. I hope that's not too confusing..
 
 
In the end, this is how my chain looked if I were to wear the snapback backwards (and cocked to the side slightly).
 
And you're done! If you make your own spiked snapback, post a pic on Instagram and tag @danithedancer.
 
Enjoy!


Sunday, July 6, 2014

Dorothy Must Die


Back in April, I was out at the mall with some of my friends on a 'school field trip', and a few of us made our way into my favorite book store Barnes & Noble. My classmate found a stand that was holding these free Prepublication Excerpts and picked one up.
 
Well, needless to say, he only picked it up because it was free, so he handed it over to me.
 
What originally caught my eye on the cover of the book was that the author had the same name as me; Danielle. I was already pumped.
 
But then my attention was drawn to the title and cover picture shown above. Hmmm...It doesn't take a rocket scientist to realize that this book was a violent twist on the beloved story of Dorothy and The Wizard of Oz.
 
 
Me being me, of course, I always love it when someone takes an old story or legend and adds a new twist and life to it. Which is exactly why I saw the movies for Snow White and the Huntsman, Hansel and Gretel, and Maleficent.
 
And it is also why I plan to read this book by Danielle Paige.
 
The excerpt book I got gives you the first four chapters of the book as a preview, as well as an exclusive bonus chapter. The actual book itself though was released April 1st of this year.
 
Here is the synopsis verbatim from the back of the book excerpt so you can see if you're interested and pick it up:
 
There's a new girl from Kansas in Oz...
And she has a mission:
 
Remove the Tin Woodman's heart,
 
Steal the Scarecrow's brain,
 
Take the Lion's courage, and then -
 
Dorothy must die.


Saturday, July 5, 2014

DIY #4 - Spiderman Converse


I've been waiting to do this tutorial for quite a while now! I've revamped some old converse of mine into these cute Spiderman sneakers. Here's how:
 
 
Supplies:
-A pair of converse (I used white but you can use whatever color you want)
-Fabric paint in the colors red, blue, and black
-Paint brushes
-Painter's tape
-A sharpened pencil
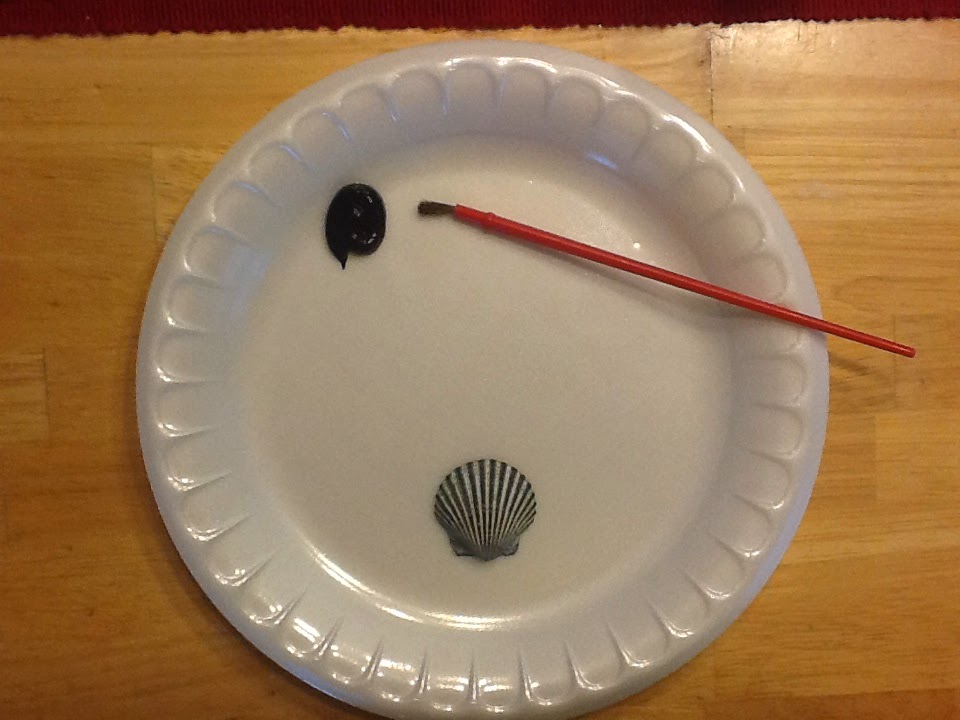
-A paper plate or something to put your paint on
-Clorox wipes
-Newspapers
-Optional; black laces


Steps:
 
First, lay out your newspaper over your surface to protect it. Once that is ready, start unlacing your shoes. 


With the laces removed, you then need to clean the rubber part of your shoes, including the toe, front, sides and back of the bottom of your shoe. Do this with a Clorox wipe.
 
*If you want you shoes to look brand spanking new, you could even take an old tooth brush or get one from the dollar store and deep clean the rubber on your sneakers.  


All clean! 


Take some of your painter's tape and start to tape off the rubber of your shoes. You only want to paint the canvas of the shoe. (Don't worry about the metal eyelets so much, the fabric paint can be scraped/cleaned off later.) 


Roughly cover the Converse emblem also. It'll be difficult to cover it perfectly, but you are welcome to try. 


With a little more tape, tape of the rectangular section perpendicular to the heel of the shoe like this: 


With both shoes taped off the same way, its time to prepare our paint. 


Taking the blue paint first, paint the rectangular section we just taped off. 


Then turn the shoe around and paint the tongue blue as well. (I put tape across the inside of the shoe so that it would have something to lean on while it dried.)


By this time, the blue paint on the back of the shoe should be dry. Remove the tape from the sides of the rectangle and place one of them over it. It's time for the red paint.

Paint both sides of each shoe with your red paint like this:


Once that paint dries, you can then start making these shoes a little more Spiderman - esque.


On the outside panel of one shoe ( I chose the left one) lightly trace the outline of Spiderman's spider logo with your pencil. When you're happy with your stencil, dip that same pencil lead in the black fabric paint and use it to paint over your drawing.

You should end up with something like this:

 
You could also use a paintbrush to paint on the spider as well, but I find the pencil lines to be a lot more precise and clean. 
 
On the right shoe, I decided to do a smaller version of the same spider logo and I put Spiderman's highly known nickname, 'Spidey' underneath it. This was just my personal touch, but as another idea, you could always write 'Web Head' or 'Web Slinger' on the shoe. Or you could even write something like 'I Heart M. J.' or 'I Heart Gwen' if you wanted to choose sides.


 On the inside of both shoes, meaning the side with the Converse star logo, I chose to draw on some webbing using the same pencil painting method from earlier.


 When all your designs are placed and the paint has dried, begin to remove the painter's tape. You might find a few gaps where the paint missed but that's okay....


....because with a small brush you can just touch everything up! 


After you've fixed any errors and the paint has fully dried again (at least four hours), you can lace your shoes again. I used my old laces but I'll probably eventually change to black laces....we'll see. 


And bam!
 
You now have a pair of shoes based on your friendly neighborhood Spiderman! 


I think if he was real, Peter Parker would totally own these.
If you make some, post a pic on Instagram and tag @danithedancer so I can admire them!
 
Enjoy!

Friday, July 4, 2014

Dance Therapy

I'm sure we've all heard of aromatherapy, or aquatic therapy, but what about dance therapy?

Yes, it is a real thing and it really works. In fact, I've been using it for most of my life without even knowing it. However, I've been using a hip-hop version, whereas the more common type of dance therapy is of jazz or ballet.

Dance therapy is the use of movement and dance to support emotional, intellectual and motor functions of the body. The involved dance forms include modern dance, culturally-based dances, Turkish dance, tango, waltz, ballroom dance, foxtrot, line dancing, aerobic dance and body psychotherapy.

Ritually, this form of therapy is used for the healing of influence by infertility, sickness, death, and birth.

In some way, I feel as if I have created a new form of dance therapy. As previously stated, I use hip hop dances with fast paced movements. And I usually do it when I'm in any mood; sad, happy mad, irritated, etc.
It helps me to forget the troubles of the day and just get to a mental state where I don't have to think about the negatives or the positives. All that exists is the music and the movement.

I encourage you to try it if you ever need to escape from the day or week and just have a moment to yourself.
Dance like no one is watching.

XO Dani

Tuesday, July 1, 2014

DIY #3 - Galaxy Seashell Pin


Since it's summer time and Beach Season, I figured a beach themed tutorial was in order.
 
Well...beach and space themed...but you get what I'm saying.
 
This project calls for a seashell so it'll give you an excuse to hit the beach! (Like you really need one.)
 
 
Supplies:
-A seashell (from the beach or a craft store)
-Acrylic paint in the colors black, purple, pink, blue, and white
-A few small paint brushes
-A sharpened pencil
-A plate or something to put your paint on
-Bar pins (found at craft stores; pin backings)
-Hot glue gun & glue
-Mod Podge


Steps:

First, paint the entire outside of your shell black.
 
Then, add a few purple splotches over the shell. I used a dry brush affect so the purple paint would have softer lines and blend better.


After that dries, add small amounts of the pink and blue paints. These two colors are just accents colors, and shouldn't be over used. For a nice galaxy effect, put a little of the pink and blue paint on the edges of the purple paint. 

 
Take your sharpened pencil and dip it into the white paint. We are using this method to add on the stars. Make small but various sized white dots all over the shell. Even add in some star clusters or shining stars (make a + sign to create shining stars) or make your own constellations.
 
Don't try to concentrate on one spot too much though. Your shell should end up looking like this:

 
Once the painting process is over and the paint is dry, seal in your colors with a layer of mod podge. I used gloss because I had it laying around but you can use whatever finish you prefer. While you are waiting for the Mod Podge to dry, plug in your glue gun.
 
 
When the sealant is dry, flip your shell over to the back. My shell had a pretty deep recess, so I used some hot glue to fill it partially so that my bar pin would be flat and level.
 
Glue in your bar pin so it opens to the direction that is most comfortable to you. Mine opens on the left side. 

And you are done! Gives a whole new meaning to Sea Stars, huh?

 In this picture, I put my new pin on my lapel, but you can put it anywhere you like.
For ideas of how to wear your pin, check out my Instagram @danithedancer.

Enjoy!

Monday, June 30, 2014

Diy #2 - Collar Accessory


For this easy and quick project you'll only need a few things.
 
Supplies:
-A shirt with a collar (maybe even a plaid one!)
-Fabric Scissors
-Optional; embellishments and buttons to sew or glue to your collar, fabric glue, or a needle and thread matching your shirt.


First, take your collared shirt and unfold the collar like this: 


Next, take your scissors and cut along the bottom of the collar where it meets the thinner fabric of the shirt as shown in the picture.


 If your collar doesn't have a button right beneath it like mine, you can always sew one on and cut a slit on the opposite side of the collar to fasten it. As an alternative, you can use embellishments as a fastener, such as a length of chain.

Once you completely cut off your collar, it should look like this:


And then you're done! Here I paired my new collar with some collar clips. 
 
 
If you want to see some different ways to wear your collar, check out my Instagram @danithedancer.
Enjoy!